

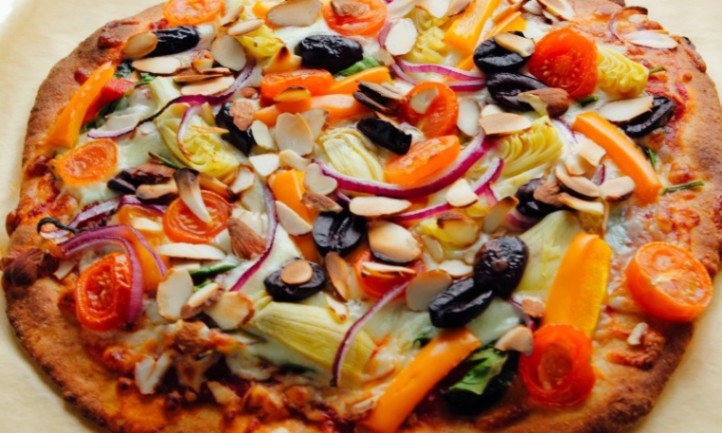


Making pizza dough the right thickness is important if you want each bite to be perfect. Using a rolling pin is key, but it can be tricky to get the dough nice and evenly thin. Today, I’ll break it down step-by-step to show you how to get your dough rolled out just right so you can top it however you like.
1. Prepare Your Workspace
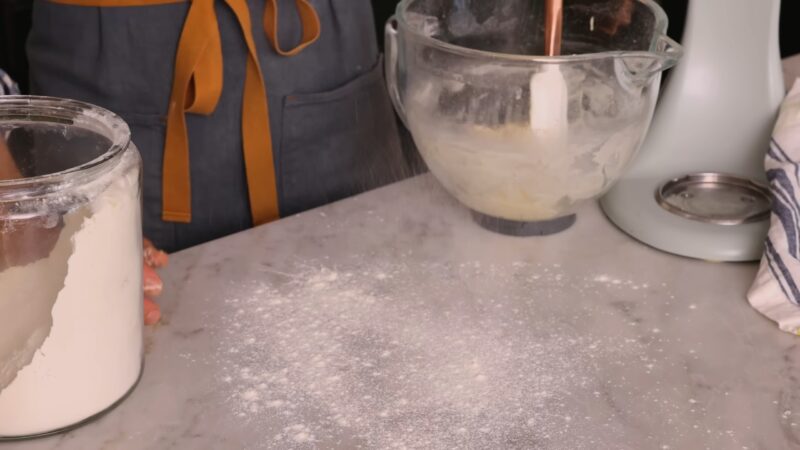
First things first – you gotta have room to work. Clear off your counter or table and give it a good wipe-down. You don’t want any crumbs or spills getting in the way.
Next, lightly dust some flour over the whole area. This will stop your dough from sticking as you roll.
The last step is gathering your tools. Make sure to have your rolling pin ready to go. You’ll also want some extra flour for dusting, and maybe a little olive oil to grease your pan. Don’t forget a dough scraper – that thing will be super handy for moving the dough around.
Having everything set up before you start rolling makes the process go so much smoother. No more stopping to look for stuff or clean up the mess.
2. Choose the Right Rolling Pin
You wanna make sure you use one that feels right for the job.
Wooden pins are usually the best bet. The wood is durable and it has just the right weight so you can roll evenly. Look for one without handles too – it gives you more control over the pressure.
The wood is also nice and smooth, so as long as you keep it floured, your dough won’t stick. Just be sure to flour that baby!
You’ll also want to pick a size that matches what you’re making. Longer pins are great if you like big pizzas.
In the end, a good rolling pin can really take your pizza to the next level. It makes everything so much easier and helps you get that perfect crust. Definitely worth investing in one you like the feel of.
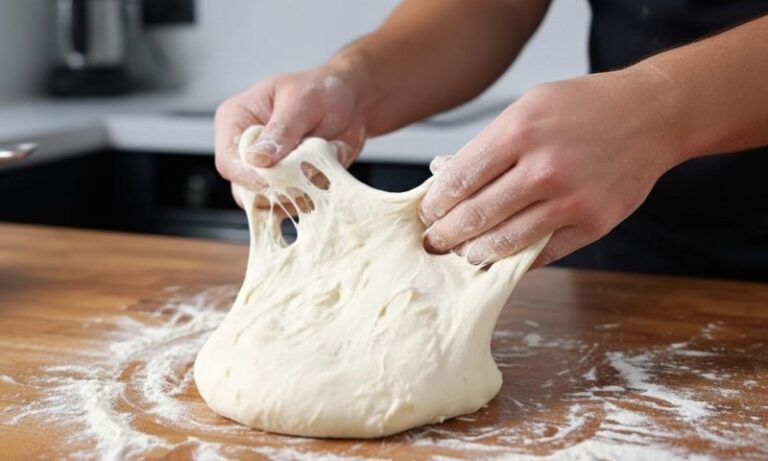
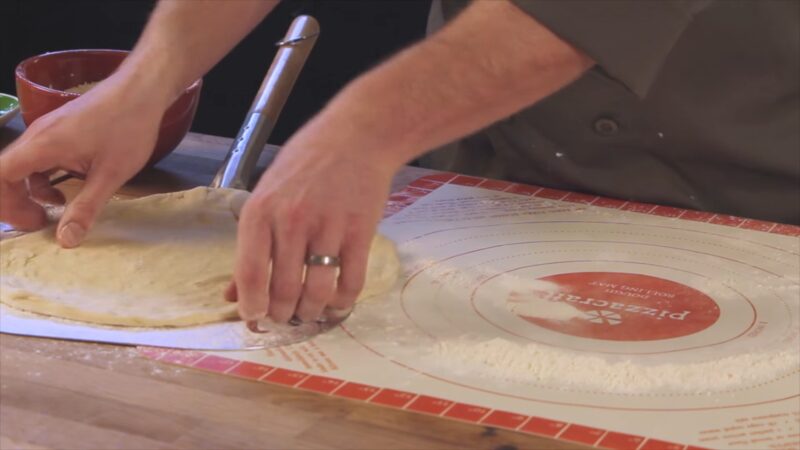
3. Roll Out the Dough
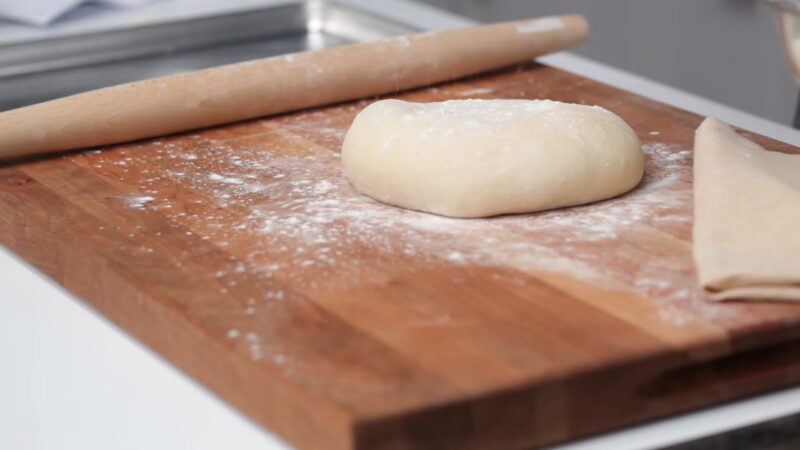
Start by placing the ball of dough in the middle of your floured surface. Press it down a bit with your fingertips to flatten it out.
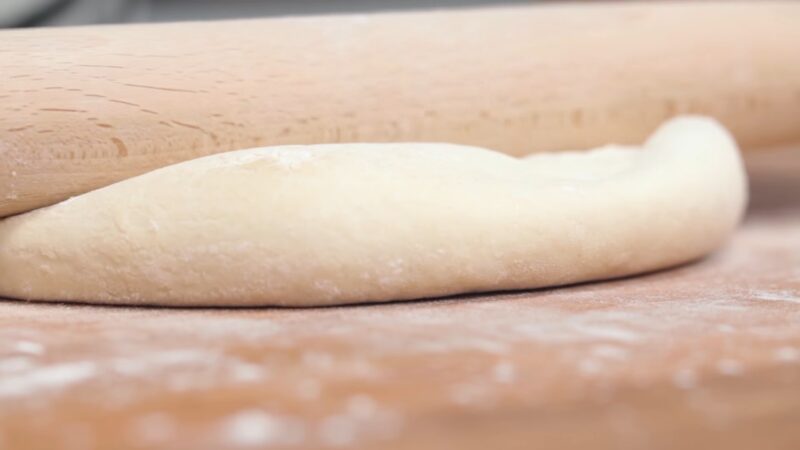
Then you’ll want to start rolling from the center outwards. Apply steady pressure as you roll in all directions to make the dough wider.
If it starts sticking, just lift it gently and sprinkle a bit more flour under there before continuing. Also, every so often spin the dough a little so it doesn’t stick to one spot.
Roll it out until it’s about 1/4 inch thick. Or thinner if you like a super crispy crust.
Go slow and use gentle touches so the dough doesn’t tear.
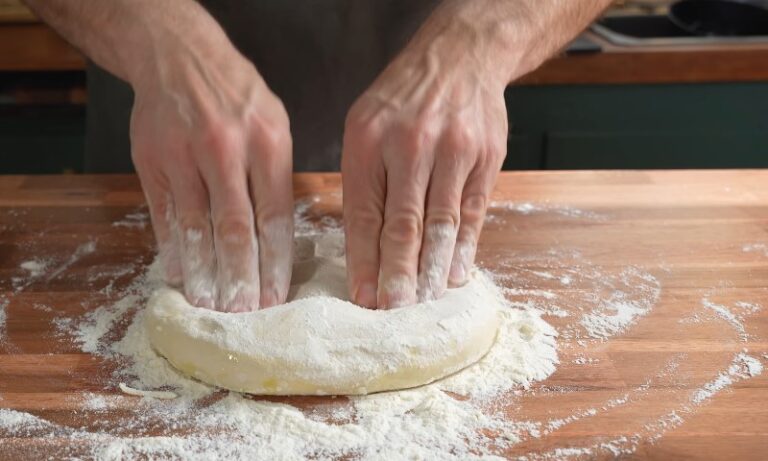
4. Check for Even Thickness
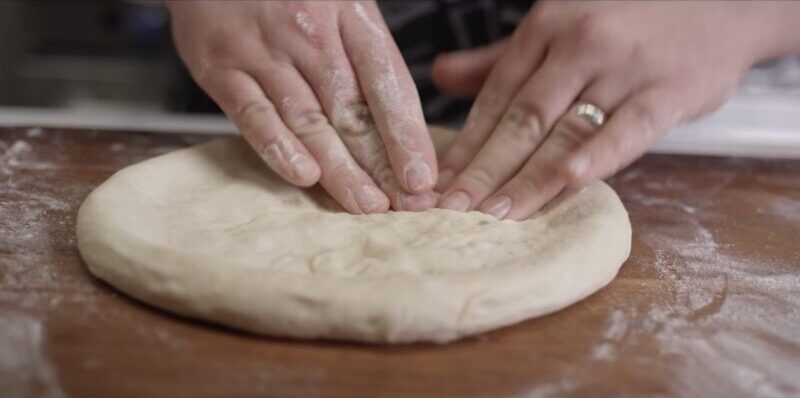
Go ahead and feel all over the dough with your hands. You want it to feel nice and even all around. Pay attention to the edges too – those can sometimes get too thick.
If you notice any uneven spots, just gently roll over them again with the pin until it’s smooth.
Making sure the thickness is consistent everywhere is key for an even bake. You don’t want some parts not cooking through or others getting too dark or crispy.
I know it seems minor, but this step really does make a difference between an okay pizza and an awesome one.
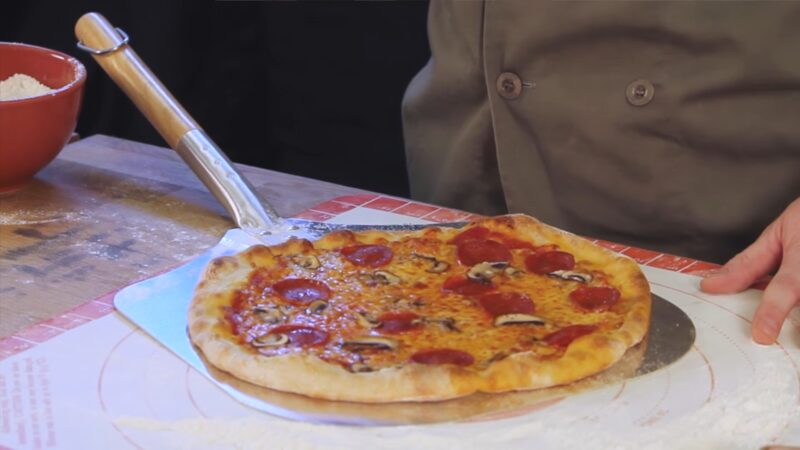
5. Transfer the Dough
As the dough is rolled out – now comes the part where you get it onto the baking sheet or stone.
First, use your dough scraper to gently loosen the dough from the surface. Lift it carefully, making sure to support it so it doesn’t rip at all.
You can fold it in half or wrap it around your rolling pin to move it more easily.
Then place it down onto your baking surface, whether it’s a sheet or stone. Adjust it as needed so it fits nicely.
Move quickly during this part so the dough doesn’t have time to stretch out any more than it already has.
Additional Tips for Perfect Results
- Make sure to take the dough out far enough before rolling so it’s not cold. Room-temperature dough is way easier to work with and less likely to snap back out of shape on you.
- If it’s fighting you and not wanting to roll out, let it relax for a few minutes. The gluten needs time to chill out so it doesn’t resist so much.
- Play around with different types of flour too. Bread flour gives more chew while all-purpose makes it crispier. See what you prefer.