


Really want to nail that perfect thin-crust pizza? You’ve come to the right place. Here’s the low-down on how to whip up a thin crust that won’t have you tossing the whole thing in the trash.
Listen closely because I’m about to lay down some tips that’ll make your pizza dreams a delicious reality. Let’s get right into it.
1. Start with the Right Dough
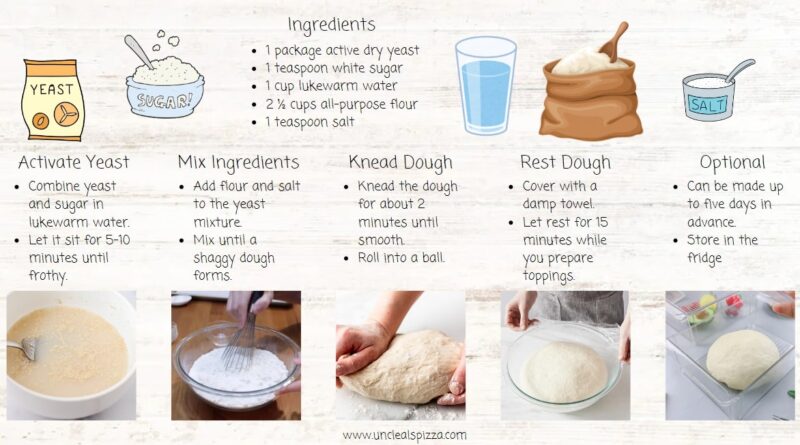
First things first, get your dough game on point. Basic pizza dough is simple and doesn’t need to be a headache. You’ll need:
- 1 package active dry yeast
- 1 teaspoon white sugar
- 1 cup lukewarm water
- 2 ½ cups all-purpose flour
- 1 teaspoon salt
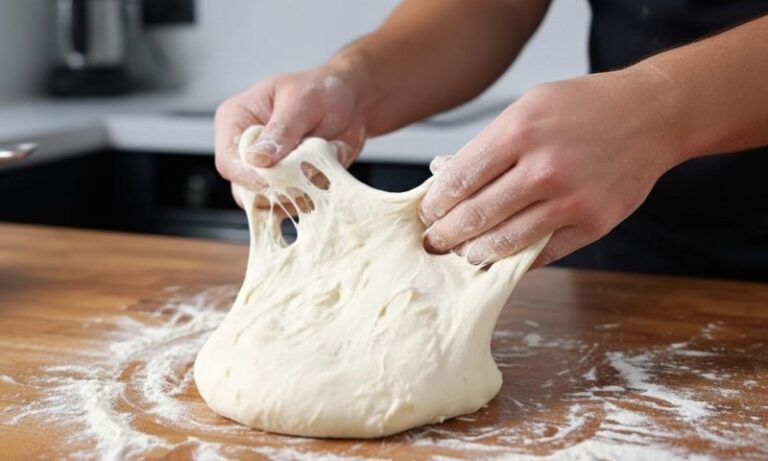
First, take your yeast and sugar, toss them in some lukewarm water, and let it sit until it’s all frothy – take 5-10 minutes, tops. Then, add your flour and salt, and mix it up until you’ve got a nice, shaggy dough.
Knead that thing for about 2 minutes, just until it’s smooth. Roll everything into a ball, cover it with a damp towel, and get to work on your toppings. No need to fuss over it – 15 minutes, and you’re good to go. You can even make this dough up to five days in advance and just stash it in the fridge.
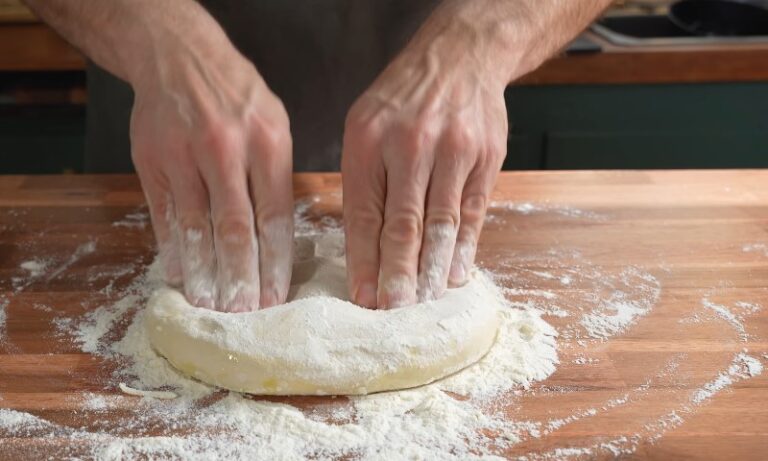
2. Roll It Thin, Really Thin
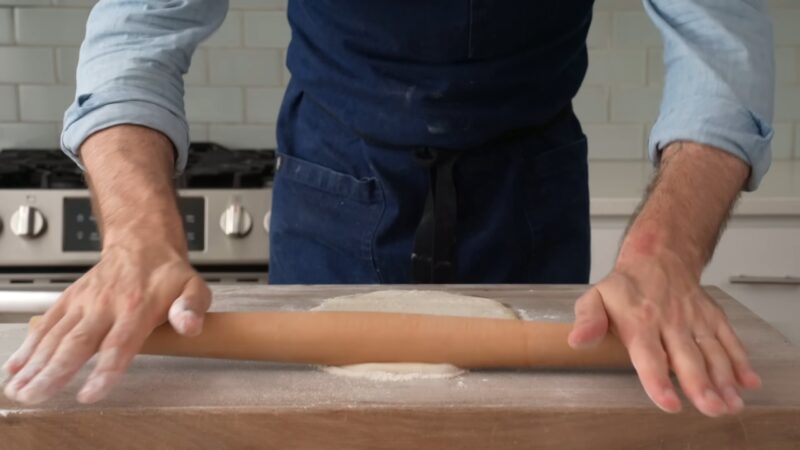
You want a thin crust? Then, roll it thin. There’s nothing obscure about it. But here’s the trick: start from the center and roll outwards. Use even pressure and keep turning the dough to maintain a round shape.
If it keeps springing back (because the gluten is having a tantrum), reroll it into a ball and let it rest for 15-30 minutes. This lets the gluten relax so you can roll it out without a fight. It’s actually pretty easy, and you will get exceptional results every time.
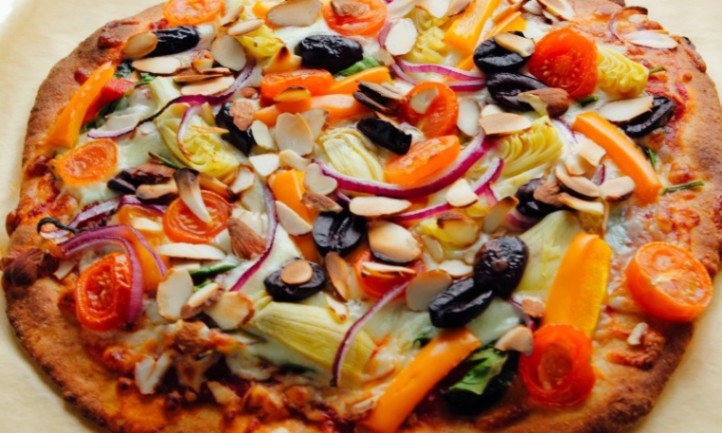
3. Easy on the Toppings
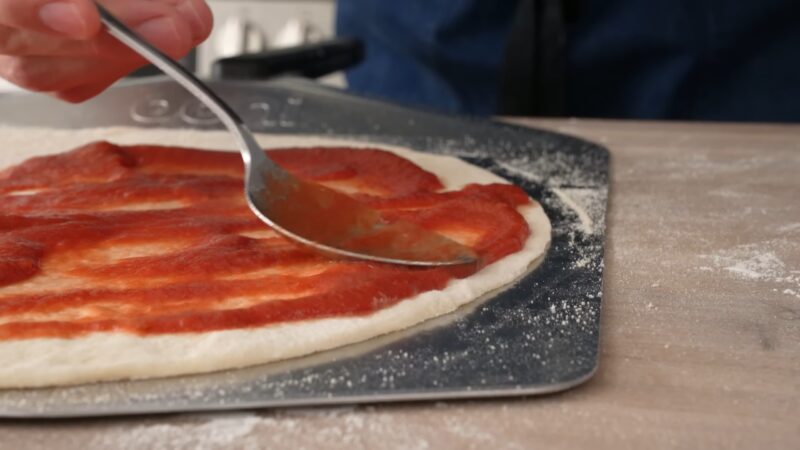
Look, I get it – you want the whole buffet on your pizza, but let’s be real here. That poor little crust is not built to hold much weight. And while we’re at it, go easy on the sauce.
Just a light dusting is all you need – no need to drown the poor thing. 3 or 4 toppings max, that’s the rule. Any more, and you’re just asking for a soggy mess that no one will eat. Keep it simple.
4. Choose Your Cheese Wisely
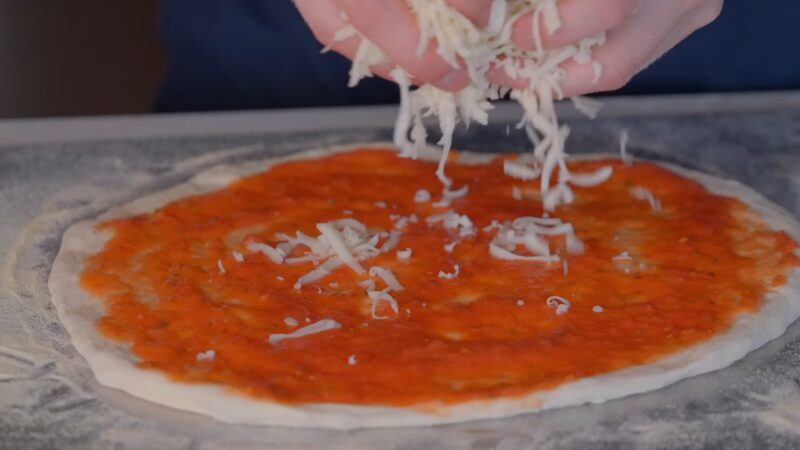
Not all cheese is exactly the same. Some of it turns into a total oily catastrophe when you try to use it, while other types melt up like a dream and get all golden and gorgeous.
In my opinion, fresh mozzarella, provolone, or a decent low-moisture mozzarella are pretty solid options to go with. Nevertheless, feel free to experiment a little if you’re feeling adventurous. Just steer clear of that cheap stuff that’ll turn your pizza into a straight-up greasy failure.
5. Crank Up the Heat
Home ovens aren’t as powerful as commercial pizza ovens, which can hit 400-500°C and cook a pizza in about 90 seconds. You, however, have to work with what you’ve got. Preheat your oven to its highest setting—ideally between 240-250°C (500°F).
Use a pizza stone if you have one. If not, a preheated, rimless baking tray or an upturned baking tray works too. This helps transfer heat more effectively, giving you a nice, crispy crust.
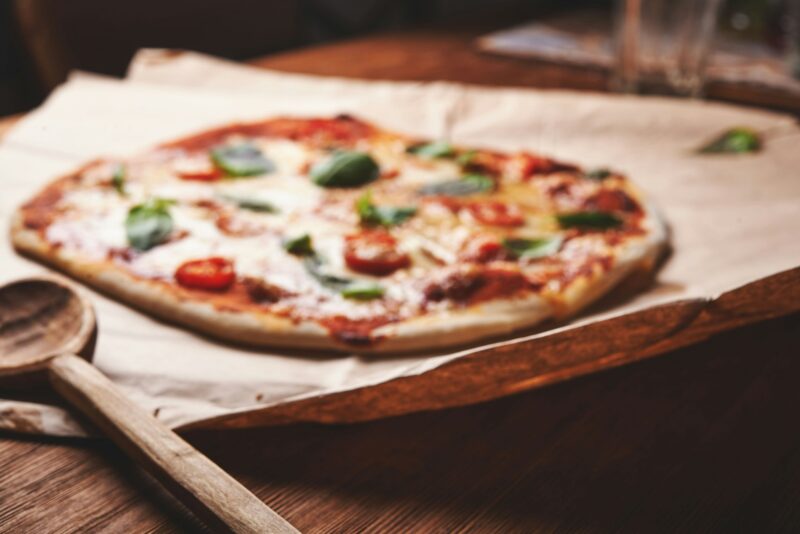
6. Fresh Herbs – After, Not Before

Adding fresh herbs before baking is kind of a rookie move. They’ll just end up burnt and bitter that way. It’s better to put them on right after the pizza comes out of the oven.
The leftover heat will bring out their flavor without ruining them. Fresh basil or arugula works really nicely for this.
Bonus Tips For Even Better Results
- Use Baking Paper: No pizza peel? No problem. Build your pizza on baking paper for an easy transfer to the oven. Slide it right onto your preheated tray or stone. Easy peasy.
- Flavor Boosts: Add garlic or oregano to your dough for extra flavor. Some reviewers swear by it, and who am I to argue?
- Resting the Dough: If you’re making dough ahead of time, remember it can be stored in the fridge for up to five days. This also means you can have impromptu pizza nights without the hassle.
Wrapping Up
So, there you have it. Making a crispy thin-crust pizza isn’t rocket science, but it does require a bit of attention to detail. Stick to these tips, don’t overcomplicate things, and you’ll be churning out pizzas that could make a Neapolitan chef nod in approval. Or at least not grimace.