


Making pizza dough is an art. It’s all about transforming basic ingredients into perfection.
It requires patience and skills. Rule number one is never to rush.
And the first step is to knead the dough. Now I will show you how to do it right.
How to Knead Dough Correctly?
Kneading is an important step to achieving the perfect base. The process involves mixing flour, water, yeast, and salt into a dough that is stretchy yet firm.
Here are the key techniques:
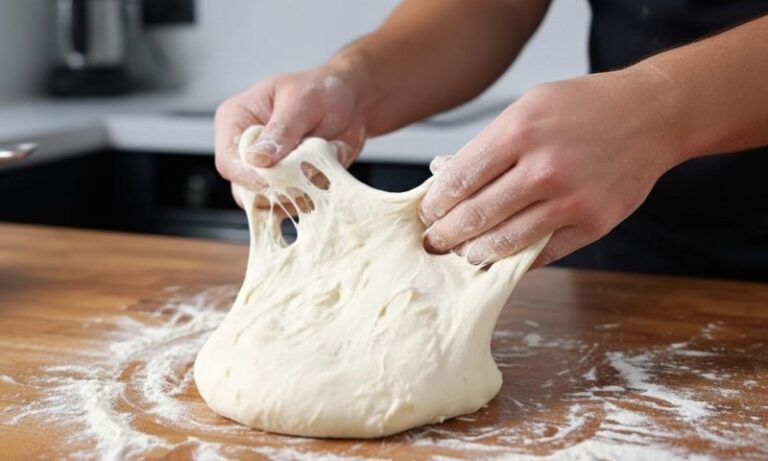
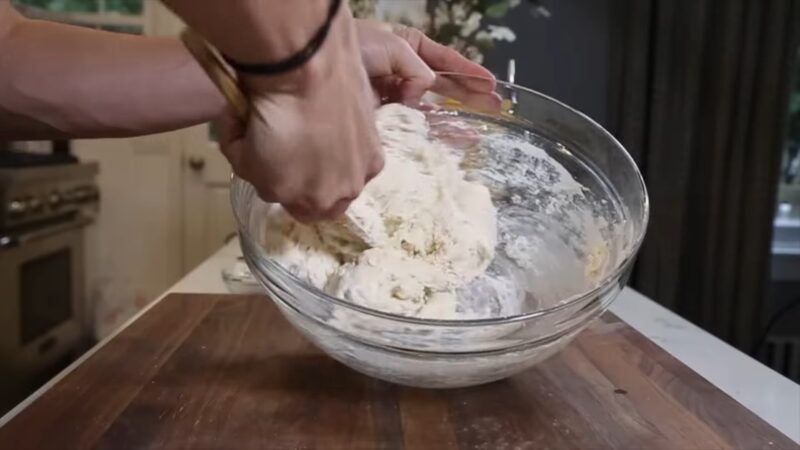
First, combine all ingredients into a shaggy ball. Then place it on a clean, uncluttered work surface. Use steady, even motions to push and fold the dough over itself repeatedly with the palms of your hands.
Continue kneading for a full 10 minutes. This lengthy process allows the gluten in the flour to develop fully, resulting in an elastic, smooth texture. You’ll know it’s ready when it feels soft, pliable and bounces back slightly when pressed.
Add small amounts of extra flour to the work area as needed to prevent sticking. Avoid excess flour directly on the surface.
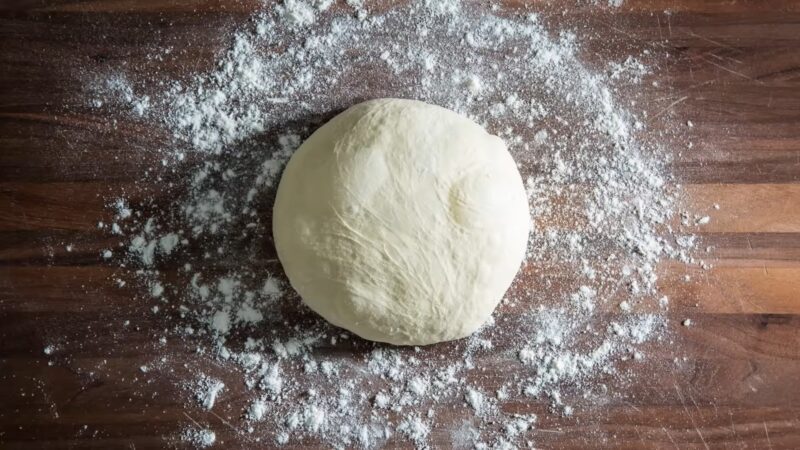
Once kneaded, form a smooth ball. Place it in an oiled bowl and cover to allow it to rise until doubled in size. The dough is then prepared for topping and baking according to your desired pizza recipe.
But Preparation is Even More Important
Fermentation plays a crucial role in developing flavor and texture when preparing pizza dough. It allows the yeast to activate and produce important chemical reactions. As the yeast breaks down sugars, it generates both alcohol and carbon dioxide. The final result is increased elasticity along with the rising.
Many experts agree that cold fermentation yields superior results. This technique involves storing in a refrigerator for an extended period. Refrigerating the dough at a cold temperature significantly slows the yeast activity. The elongated fermentation period allows for more efficient development of flavors over time compared to a faster room temperature rise.
The basic steps are as follows:
- Mix the ingredients of water, yeast, flour, and salt into a cohesive mass.
- Conduct an initial rise at room temperature until doubled in size.
- Portion the dough and shape balls for individual pizzas.
- Refrigerate the balls to slow the fermentation process.
- Before baking, return the dough to room temperature to complete the final proofing stage.
The advantages of slow fermentation include deeper flavor creation as yeast compounds accumulate. It also improves texture through a more consistent bubble formation within the crust structure.
Check Out These Tips to Act Like a Pro
When it comes to kneading, there’s more to it than just working it on a countertop. Professional chefs have this cool technique called tossing that adds a bit of flair to the process. And if you want to impress your friends or a date, make sure to remember the following tips.
So, why do professionals toss the dough?
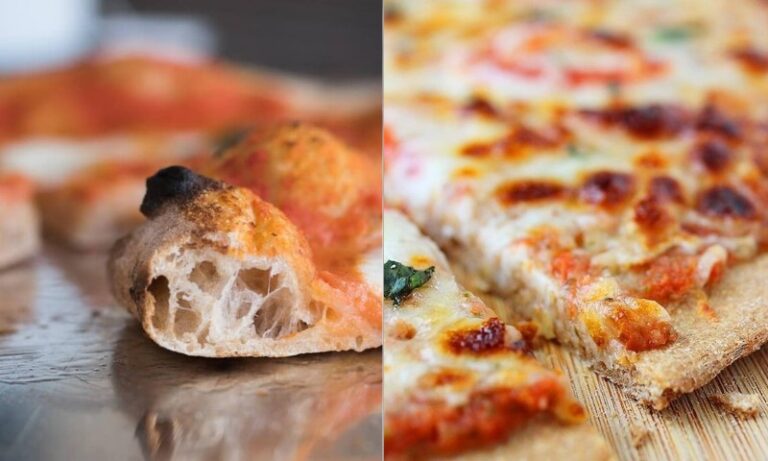
Well, it helps to stretch it evenly without putting too much pressure on one spot. You see, if you press too hard in one area, it can make the crust all compressed and tough. By tossing it, they let gravity do some of the work, making it thinner in a more uniform way. This is especially great if you’re going for those big, thin, and perfect bases like the Neapolitan or New York-style pizzas.
Now, let’s talk about how to toss it like a pro:
- Start with a Well-Kneaded Dough: You want it to be soft, elastic, and slightly sticky.
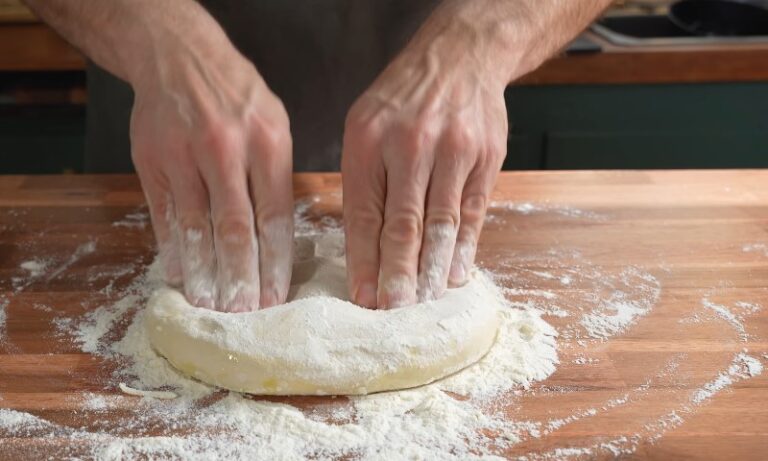
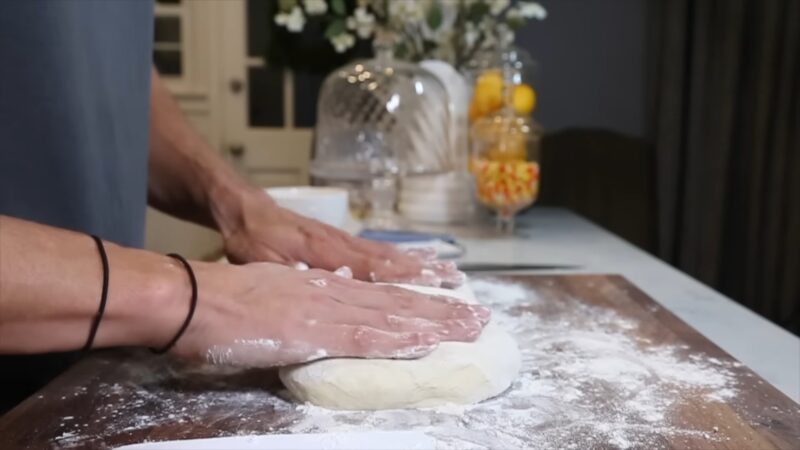
- Shape it Into a Ball and Flatten: Gently press it down to make a flat circle.
- Give it a Rest: Let it chill for a bit to relax the gluten and make it easier to handle.
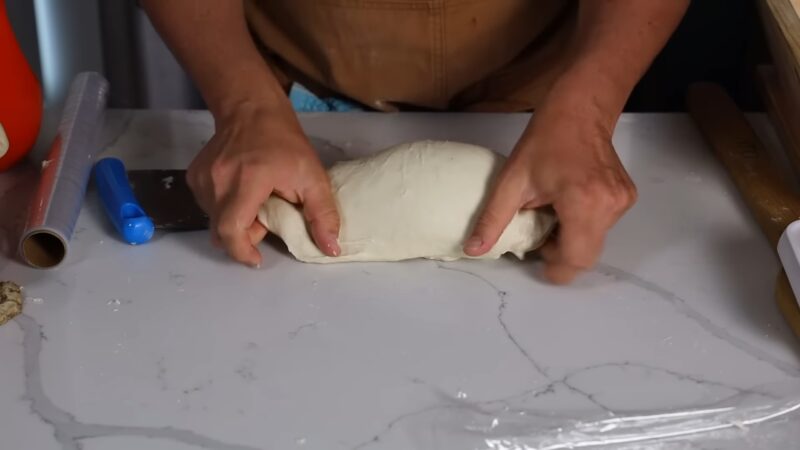
- Get Your Hands Dirty: Place your hands underneath the dough, and use your knuckles to stretch it. Avoid using your fingertips to prevent any tearing mishaps.
- The First Toss: Make a gentle fist and toss the dough up while giving it a little spin. Catch it with the backs of your fists.
- Keep Tossing: Repeat the tossing motion a few times until the dough reaches the size you want. Quick and swift movements are key to keeping it moving and stretching.
And here’s why this tossing thing is pretty cool:
- Even Thickness: The weight of the dough naturally stretches it out, giving you a nice and even thin base.
- Improved Texture: Less handling means less risk of overworking the gluten, which can make the crust tough.
- Airiness: Tossing adds more air, making the crust lighter and more enjoyable to bite into.
The Bottom Line
And there you have it, these are the basics that will help you reach much better results. You will see it even after the first attempt. But keep in mind that kneading, tossing, and other processes included require experience and skills, so don’t panic if the first pizza you make after reading this article is not as you desire. Just try it again, check what went wrong, and I’m sure you will make it.
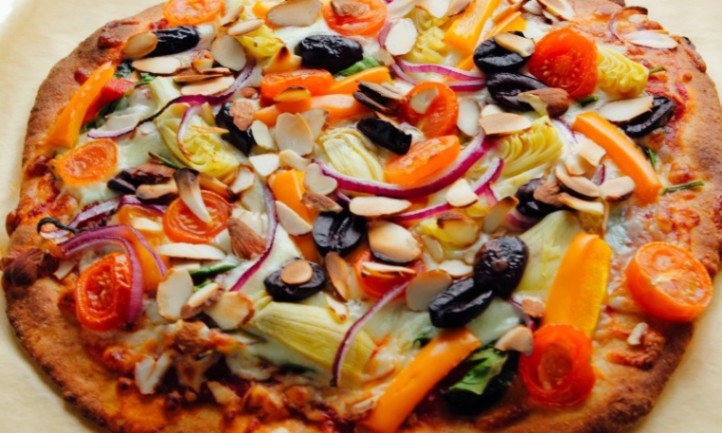
If you are thinking about the toppings, my suggestion is to start with a classic Margherita.